Posts mit dem Label DIY werden angezeigt. Alle Posts anzeigen

Sonntag, 13. April 2025

Making custom firesteels-a really simple and satisfying project

This is another beginner-friendly crafts project you can achieve with really simple tools. 

You can get firesteel blanks from your favourite outfitters. I got mine from the awesome Janet from https://www.nordisches-handwerk.de/handwerk-schnitzen/dalapferde-handwerk-geschenkartikel/fertige-produkte/feuerstaehle/4411/scout-feuerstahl-firesteel-ca.-6-3x60mm

A firesteel is somewhat of a misnomer.  To the kids I explain it a by stating that the material isn't of course steel, but Auer metal, an ingredient in mini fireworks like a sparkler decoration. Technically, it is called Ferrocerium and it is a compound from Iron and the rare-earth mineral cerium, hardened with magnesium and other ingredients. It was discovered by the Austrian chemist Carl Auer von Welsbach in 1903, possibly in residues from Thorium mining. (https://en.wikipedia.org/wiki/Ferrocerium).

A ferrocerium rod is a rather convenient and reliable way to start a fire. Well, a BIC or matches are even more convenient, but sometimes not as resilient in a wet environment. And let us not forget the aspect that they are fun! 😉 

The wet blanket of course is that they are a highly industrialized approach to a rather simple problem. Sustainability works in another shed, so to say.  They can last you for a long time, though, which is sort of a compensation for a bad ecological balance.  

I got myself some small diametre ones, just 6,3 mm. Those make for a lighter and more compact carry.  For the things I do that is more than enough, and they are dead cheap.  But you can get yourself a bigger one alright.  

Making them requires a knife, a saw and a power drill. Actually you can also use a Swiss Army knife to mount them.  

Saw off a little block of your favourite wood.  I used bog oak, birchwood burr, and stag antler.  
Drill a 6mm hole into the handle. With the tip of your knife, remove the burr from the hole. Do not glue the Ferrocerium rod into the handle or use pine resin. That way, you can use up the half that rests inside the handle, too.  Two I recessed to the half of the rod into the handle to make for a more compact carry, the other two I left a bit longer for easier use.  Gently tap the rod with a wooden mallet or rubber hammer. 
On the stag antler Ferrocerium rod I added a lanyard hole for carrying in a traditional bushcraft sheath loop. And just like that- hey presto: Ferrocerium rod. 😉


Mittwoch, 9. April 2025

Restomod of a badly beaten Victorinox Camper- changing the scales

On a flea market some time ago I got myself a cool, but really badly battered Victorinox Camper... but for 3€ or summat.  

Now Victorinox has really changed my outlook on bushcraft knives in general.  Maybe it is because I am getting old, but a Victorinox Ranger really is my most used knife these days.  Rather light, always on board and rather unproblematic with the authorities, it really shines in a lot of applications, if you know how to use it. 

I think that will be a topic for another post.

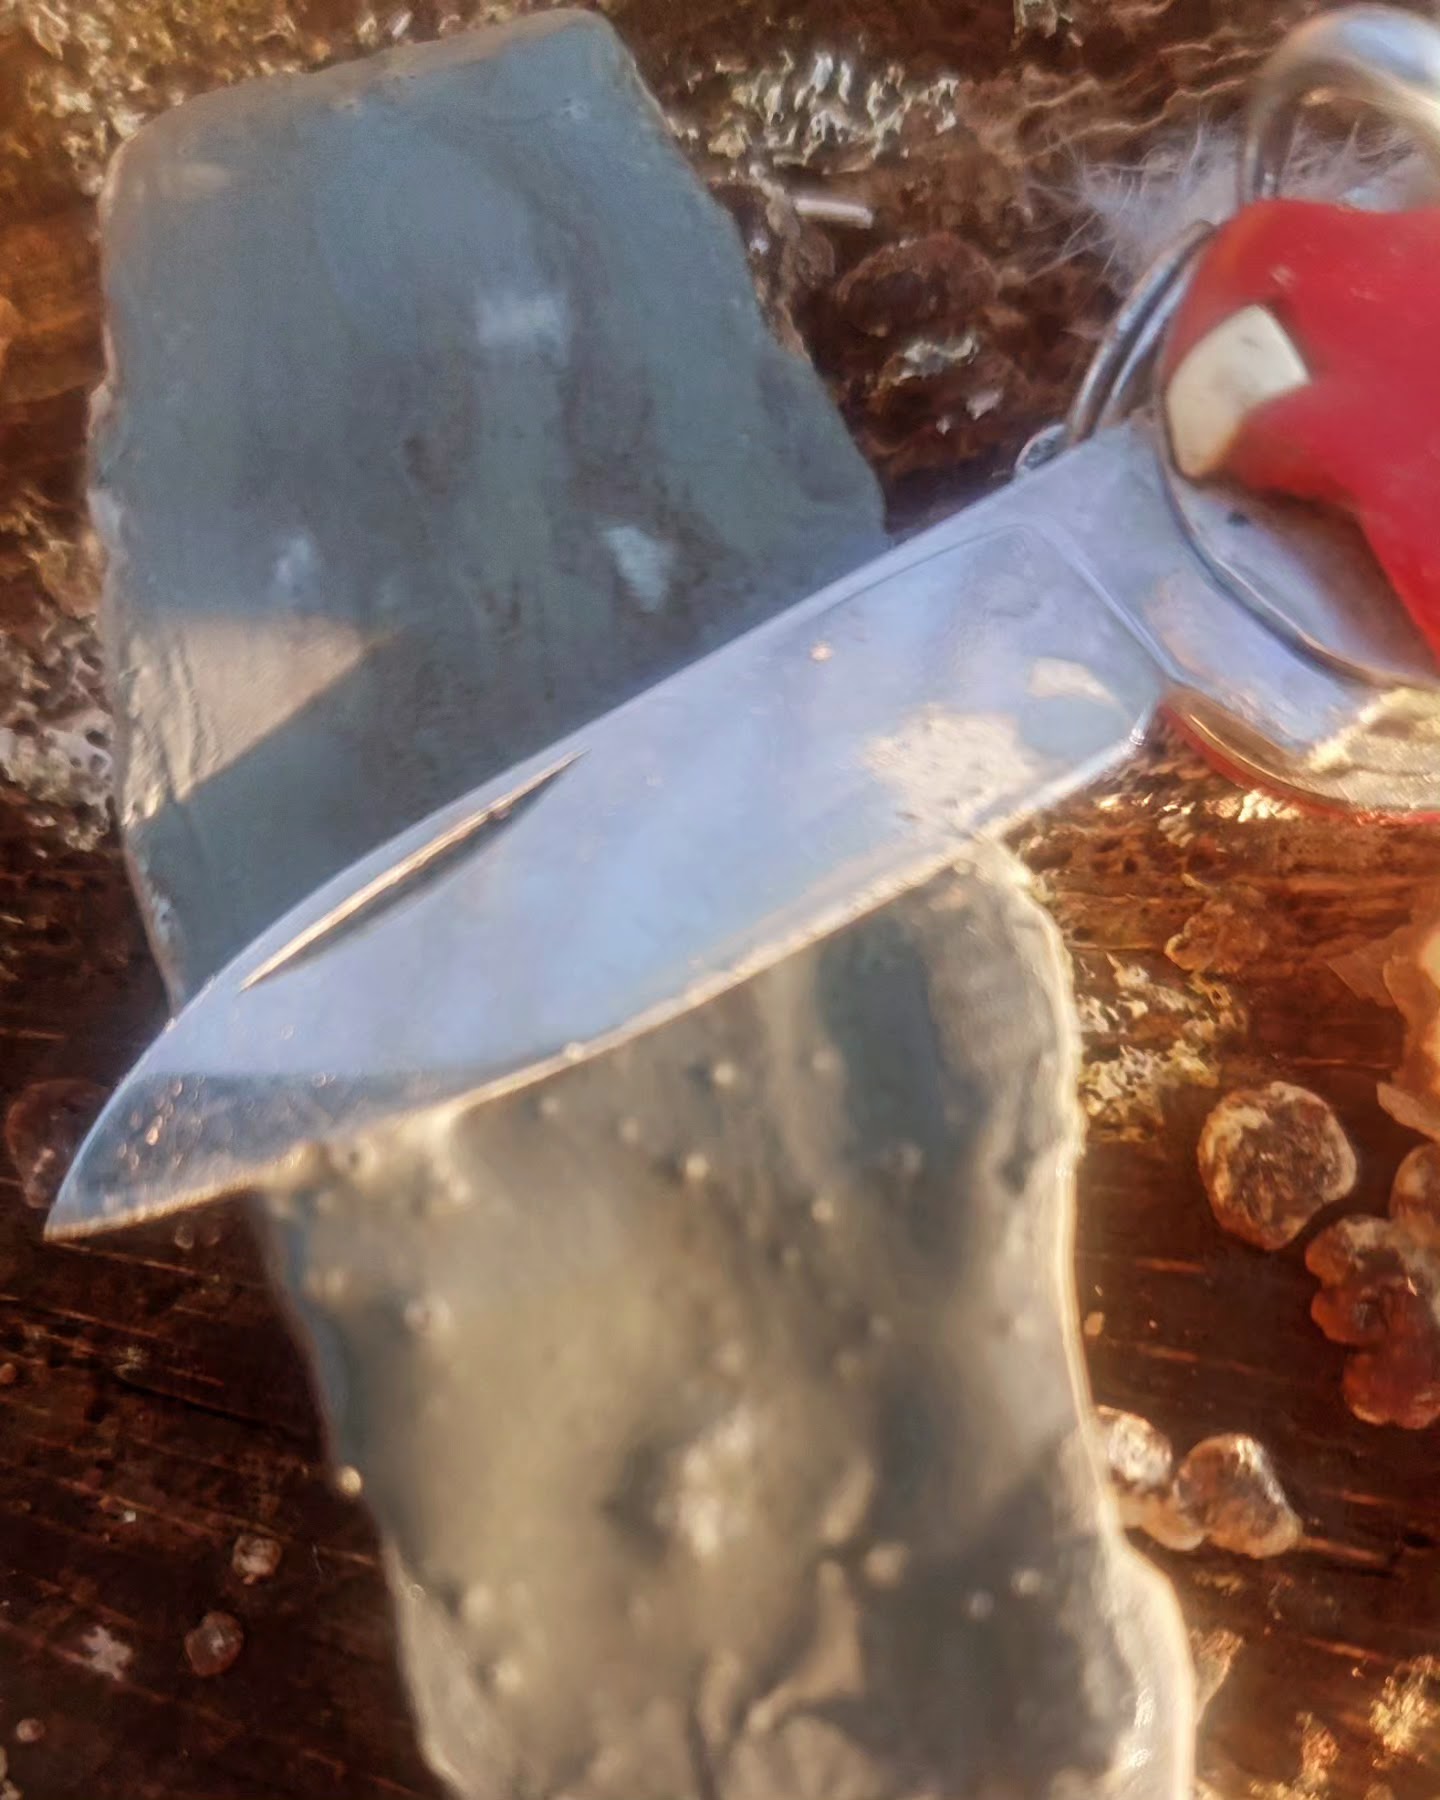
 Anyway, the knife I got had a bad dent on the small whittling blade. On the detour from the flea market, I did a little bimble through the woods, and picked out a random sandstone and ground it flat against a broken tile also lying around not doing anything, and used it on the small blade.  

This worked out pretty well. I will show you how to use a sandstone as a grindstone in a future post.  The beauty of a SAK, however, is that, while the tempering of the blade is really resilient, while having a more than adequate edge retention, it can be maintained with next to no provisions.  


The other day, I had ordered some new scales. I did not need to upgrade to the Plus scales, but I ordered new goodies in red, too.  I am a fashion victim, too, sometimes, you know? 😉

But, of course, there was a reason for it,  since the scales were a bit damaged, too.  

Those had arrived, and I watched the awesome tutorial by the master of SAKs himself. Look here: 


That said, I changed one thing, and that was adding some detergent to the boiling water.  Removed the tweezers and toothpick, and put the knife into the hot, no longer boiling, water. I took some tongs at the ready to take it out of the water after some five minutes. The scales get a bit softer afterwards. 


Using the small blade on another SAK, i popped off the scales as Felix suggested, getting between liners and scales between the two hindmost rivets.  Worked a cinch. You have to be a bit careful and have a little patience, but the scales come off with a rather satisfying "pop" 😉. 


Taking care to thoroughly clean the liners and working the blades underwater for some time (you can also use Q-tips or a piece of handkerchief or paper towel wrapped around the tweezers), 

Thoroughly dry the liners afterwards. 

Starting with the corkscrew side, handpress the scales onto the rivets. 
Use a towel, some tape, or felt inlays to protect the scales from scratches, you can use a vise to press-fit the new scales in place. 

And just like that, you have a knife that is almost like new.  

This is the real beauty of a SAK.  That knife is over 45 years old, and it is now ready for a good time in the woods again.  

Mittwoch, 23. Mai 2012

For want of a shoe....

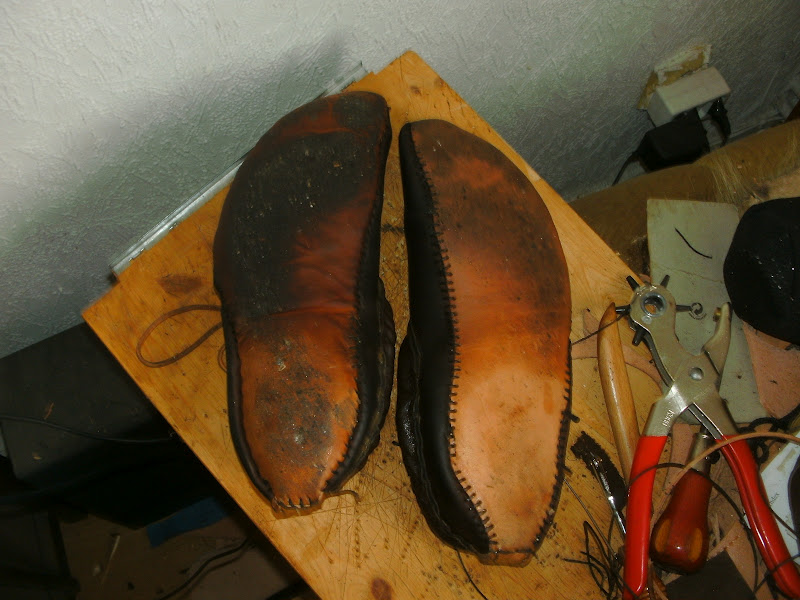
...a shoe was made... needed some shoes for reenactment, so I made myself some;-). Modelled after shoes from the Iron age / Vendel / viking age. Those are stitched from the wrong side up and then turned upside down, from 4 mm soles and 3 mm oiled upper leather, and I am really, really fond of them. In fact, I built an outer sole out of Latex and wear them in the woods. Can do with some fine-tuning, but comfy they are, and that´s what counts... ;-)

Beliebte Posts